
This post may contain affiliate links. Please read my privacy policy.
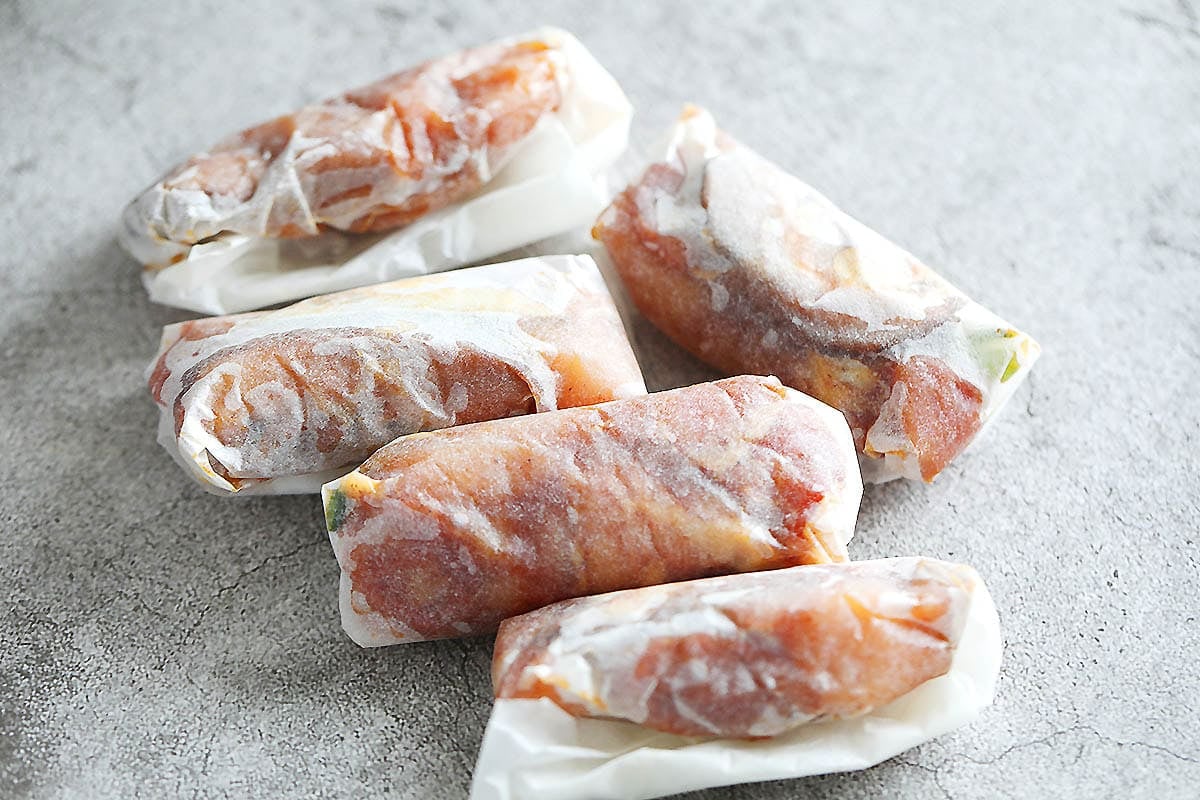
Learn how to wrap chicken in parchment paper with this step by step guide. A simple diamond fold seals in steam and aromatics for tender, juicy chicken every time.
Secrets To Juicy Chicken In Parchment Paper
Getting boneless chicken breasts or thighs to stay tender without turning tough on the stove or in the oven is something almost every home cook struggles with. Wrapping your chicken in parchment paper fixes this completely. This simple diamond fold creates a tight, steam-trapping parcel that locks in every drop of moisture and flavor, no string or toothpicks required.
The secret to this method is all about gentle steam cooking. As the paper packet heats up, the marinade and natural juices vaporize inside, continuously steaming the meat from the inside out. The sealed parchment pouch protects the chicken from direct, harsh heat, giving you tender, juicy meat and a rich sauce right inside the wrapper every single time, whether you bake, deep fry, or air fry.
Shopping Guide: Choosing The Right Paper
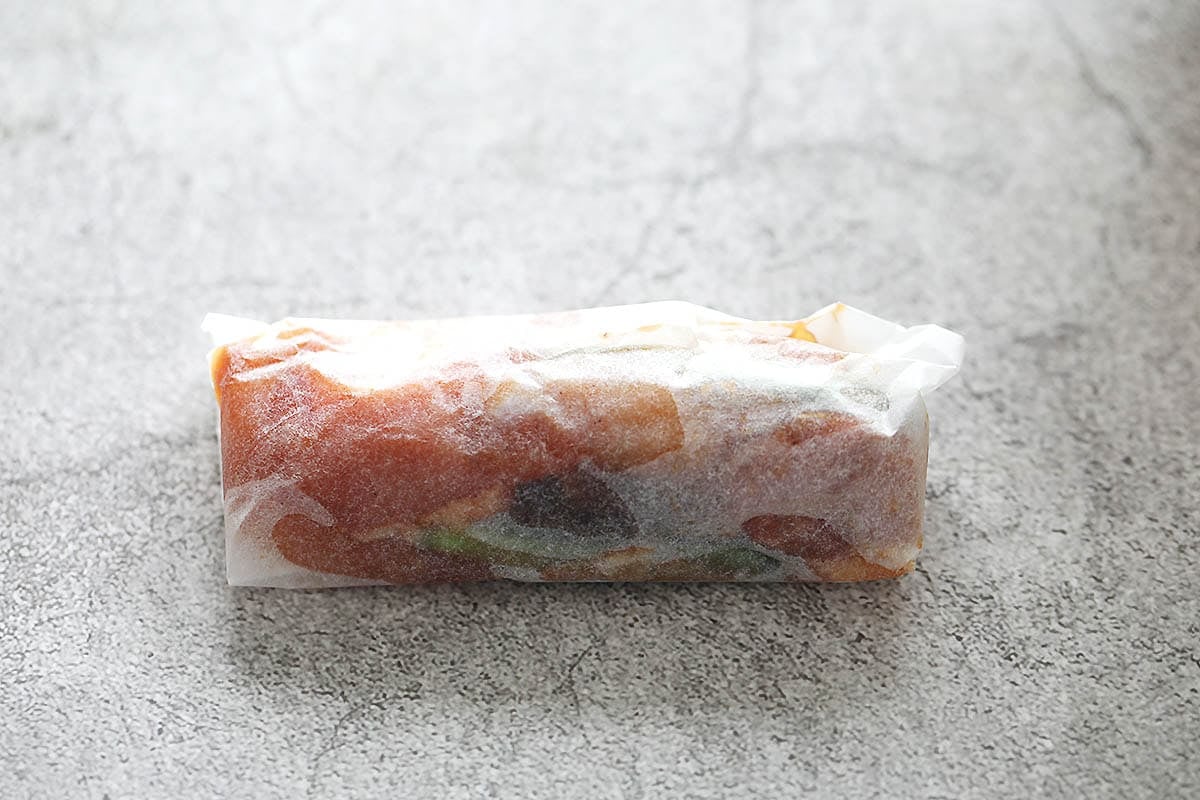
If you are wondering which type of paper works best for wrapping chicken, here is a quick breakdown of your options.
- Parchment Paper Rolls: Widely available in almost every supermarket and very budget friendly. Simply cut the roll into 15 cm × 15 cm (6 × 6-inch) squares for single-serving chicken pieces.
- Pre-Cut Parchment Sheets: Pre-cut half-sheets lay flat without curling, which makes prepping easier. While you will not find pre-cut 15 cm squares in stores, you can easily trim a large sheet into four equal squares.
- Aluminum Foil: A handy emergency backup that holds a crease exceptionally well. However, parchment paper is always preferred because it remains completely non-stick and will not react with acidic marinade ingredients like lemon juice or rice vinegar.
- Paper Types To Avoid: Never use wax paper or butcher paper for this technique. Wax paper melts at high temperatures and will smoke up your kitchen, while butcher paper lacks the non-stick coating needed to keep your chicken from clinging to the wrapper. Skip extra-thin party wax wrappers as well, as they tear easily when steam builds up inside.
Frequently Asked Questions
You can cut the 15 cm × 15 cm squares in advance, but do not pre-fold them. Parchment holds a much tighter, firmer tuck when you crease it fresh around the meat filling.
Yes, foil works with the exact same fold sequence and holds a crease easily. However, parchment paper is better because it expands smoothly with steam and will not stick to the meat.
Most standard parchment paper is silicone-coated on both sides, so either side works. If your brand specifies a non-stick coating on only one side, face that side inward against the meat.
Your creases are not sharp enough, or the top flap is not tucked deep into the back pocket. Press every fold down flat with your fingers, and do not overfill the paper so you have enough room to lock the corner in.
Do not overstuff the 15 cm × 15 cm square. Leaving enough empty paper margin around the meat keeps the side flaps flat and prevents steam from pushing the parcel open during cooking.
Wrapping Chicken In Parchment Paper
Learn how to wrap chicken in parchment paper with this step by step guide. A simple diamond fold seals in steam and aromatics for tender, juicy chicken every time.
-
Cut the parchment paper into 15 cm × 15 cm (6 × 6-inch) squares. Place one square in front of you in a diamond shape, with one corner pointing toward you. Place the chicken and other ingredients near the bottom corner closest to you.
-
Roll the bottom corner up and over the filling.
-
Fold the right corner toward the center, over the bottom flap.
-
Fold the left corner toward the center, overlapping the right side.
-
Roll the folded parcel upward once, keeping the filling snug inside.
-
Fold the top corner down and tuck it into the pocket underneath the parcel to secure it.


 By
By